
Free Stained Glass Patterns & Beginner Design Tips
- Paul Urteaga
- Sep 7, 2023
- 7 min read
Updated: Sep 13
Looking for free stained glass patterns? You’ll find downloadable designs at the end of this post! This guide will walk you through beginner-friendly tips for designing your own stained glass projects. While there are many ways to approach stained glass, I’m sharing the method that has worked best for me and my students. Once you learn these steps, you’ll have the confidence to explore other techniques and find the style that suits you best.
If you’ve always admired stained glass and dreamed of making your own, you’re in the right place. In this article, we’ll cover how to select your first stained glass pattern, cut it out, and transfer it to glass. Don’t worry if it feels overwhelming at first—every artist starts somewhere, and with patience you’ll be creating beautiful stained glass art before you know it.
Tools are important, but for now we’ll focus on learning the basics with a pre-drawn pattern. I’ll share a dedicated post on essential stained glass tools soon. Remember: like any new skill, stained glass takes practice. Each pattern you create will bring you closer to mastering this craft and discovering your own artistic style.
Let’s get started!
Selecting Your Stained Glass Pattern
When starting your stained glass journey, the first step is selecting a beginner-friendly pattern. A basic pre-drawn design will keep things simple as you practice. From there, you’ll cut the pattern pieces and transfer them onto glass—each stage contributing to the final artwork’s beauty and integrity.
At Caveman Glassworks, I’ve shared several free stained glass pattern ideas on Pinterest. For beginners, try to stay under 45 pieces in your first project. More than that can feel overwhelming and may discourage you before you’ve had the chance to enjoy the process.

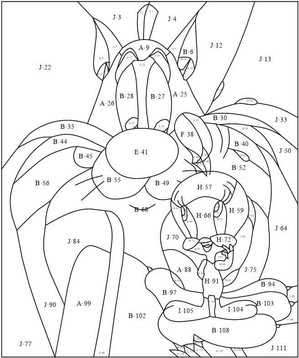
For this guide, I’ll be using a lighthouse pattern created by Spectrum Glass. The pattern measures 8” wide by 11” tall—small enough to print at home if you don’t have access to a copy center. Be sure to print at least two copies of your chosen pattern.
Most patterns are just outlines, but for teaching purposes I’ve selected a color-filled version to make choosing your stained glass colors easier in the next step. As a beginner, avoid sharp curves in your first projects. Glass naturally breaks in straight lines, and cutting curves requires more advanced tools and practice. We’ll cover that in another post—right now, the goal is to build confidence with straight cuts and simple shapes.eation.
Choosing Stained Glass Colors
Once you’ve chosen your pattern, the next step is selecting your stained glass colors. You can purchase stained glass sheets online, at Hobby Lobby, or from a local stained glass supply shop. Using our lighthouse pattern as an example, you’ll notice it has 30 individual pieces—a manageable number for beginners.
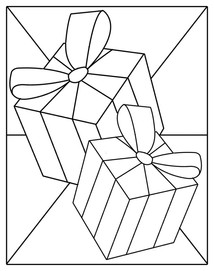
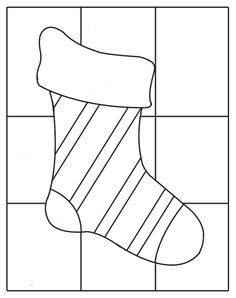
For your first projects, consider starting with simple geometric designs like squares, triangles, and rectangles. These shapes usually have larger pieces and straight lines, making them much easier to cut and assemble.
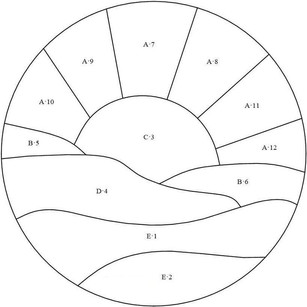
Patterns often include letters, numbers, and arrows:
Letters represent your chosen colors.
Numbers show the order and placement of each piece.
Arrows indicate the direction of the glass grain.
For example, in our lighthouse pattern:
Letter A (Sky): Choose a soft light blue for morning, or a deep blue for evening.
Letter B (Clouds): Try a crisp white or off-white for contrast.
Letters C & D (Details): The sample shows black and white, but you can customize with your own preferences.
Pay attention to grain direction for added effect. In the example:
Pieces E1 and E2 could slope down at a 45° angle to create movement.
Piece E3 could flow horizontally for balance.
Remember—there is no “right” or “wrong” way to design your stained glass. This is your project, and every decision you make adds to its uniqueness.
Creating Pattern Pieces
Before we begin—did you remember to print two copies of your stained glass pattern? If not, pause here and do it now. You’ll need them to complete this step successfully.
For this stage, gather the following supplies:
Two printed copies of your chosen pattern
Carbon tracing paper
Scotch tape
Semi-gloss adhesive-backed paper (8.5” x 11”)
Why semi-gloss? It repels water better during grinding, helping your pattern pieces last longer.
A No. 2 pencil
Pattern shears or sharp scissors
Pattern shears are especially useful because they remove the perfect amount of space between your pattern pieces. This extra space allows room for soldering later and ensures a tighter, cleaner fit when assembling your stained glass project. If you don’t have shears, that’s okay—you can still use scissors, and we’ll cover adjustments during the glass grinding section.
This step may feel technical, but it’s one of the most important. Accurate pattern pieces will save you time and frustration when cutting, shaping, and fitting your glass.

Tracing Your Stained Glass Pattern
Now that you’ve prepared your materials, it’s time to transfer your stained glass pattern onto adhesive paper. We’ll work in this order: sticky-backed paper → carbon paper → pattern.
Step 1: Prepare the Base
Place your sticky-backed adhesive paper on a flat surface and tape down each corner so it lies perfectly flat.
If your pattern is larger than one sheet, slightly overlap additional sheets of adhesive paper.
Be sure to tape the full length of the overlaps—front and back—for stability.
Step 2: Add the Carbon Paper
Lay carbon tracing paper over the adhesive paper, leaving about ¼” of adhesive exposed around the edges. Tape the corners to hold both layers securely.
If you need more than one piece of carbon paper, lightly “tack” the edges together with small pieces of tape. This makes it easier to separate and reuse later.
Step 3: Position the Pattern
Place your printed pattern on top of the carbon paper. Make sure the carbon extends beyond the borders of your design, then tape all four corners so nothing shifts while tracing.
Step 4: Trace the Design
Using a No. 2 pencil, carefully trace each line of your pattern with firm, even pressure. Include:
Piece labels (letters for glass colors)
Numbers (placement order)
Arrows (grain direction, as explained in Section 2)
This ensures your stained glass pattern pieces are accurate and ready for cutting. Taking the extra time here will make the next steps—shaping, fitting, and soldering—much smoother.
Cutting Stained Glass Pattern Pieces
Once your stained glass pattern is fully traced with labels and grain arrows, carefully separate the layers of your tracing platform. Be sure to save your carbon paper—it can be reused many times for future projects.
Now set aside the original pattern and carbon paper. It’s time to cut the sticky-backed pattern you just created. Using pattern shears (see Section 3), carefully cut along each line of your design. Pattern shears are designed with a very narrow channel—this removes a thin strip of paper as you cut. That strip creates the perfect gap between pieces, allowing space for the solder lines later and ensuring your glass pieces will fit together more accurately.
If you don’t have pattern shears, sharp scissors can be used, though the fit may be slightly tighter. We’ll cover adjustments during the scoring and breaking glass stage in a future post.
Once all your pieces are cut, sort them by letter labels (A, B, C, etc.) and compare them to your original printed pattern. Double-check that every piece is accounted for before moving forward. With everything confirmed, you’re ready to stick the paper patterns to your glass and begin the cutting process.these pieces to your glass.
Adhering Stained Glass Pattern Pieces to Glass
As a beginner, it’s best to work on one glass color at a time. Most stained glass sheets have both a shiny side and a dull side—you’ll want to attach your pattern pieces to the shiny side of the glass.
This is where the arrows you traced on your pattern pieces (see Section 2) come into play. Using our lighthouse example, let’s look at pieces E1, E2, and E3:
Peel the backing off piece E1 and place it along the edge of your glass sheet, making sure the arrow follows the direction of the glass grain.
Repeat the process for E2 and E3, aligning the arrows with the natural flow of the glass.

Base section of lighthouse stained glass pattern showing labels and arrows.
Most glass pieces are sold in either a square or rectangle shape, therefore use this to your advantage. Peeling the back off of E1, attach it to the edge of your glass with the arrow following in the direction of your glass grain. Repeat with Pieces E2 and E3.
Most glass sheets are rectangular or square—use this to your advantage by placing pattern pieces along the edges when possible. This minimizes waste and makes cutting easier.
When looking at example projects, you may notice some glass artists place pieces very close together, while others leave more space. Beginners should aim for a bit more spacing between pieces, like in the aqua-colored examples (B9 and B12). This extra room makes scoring and breaking glass more forgiving, which is especially helpful while you’re still learning.

Once you’ve placed and aligned the first pieces, continue adhering the rest of your pattern pieces according to their letter labels, glass color, and grain direction. Take your time here—careful placement will make cutting smoother and your stained glass project more successful.
Wrapping Up Your First Stained Glass Project
Congratulations! You’ve completed a major step toward becoming a stained glass artist. From selecting a free stained glass pattern to tracing, cutting, and transferring it onto glass, each stage is not only a skill to master but also a creative and rewarding process.
Remember—your first project doesn’t need to be perfect. Stained glass art takes patience and practice, and every piece you create will help you grow as an artist. Over time, you’ll develop more confidence with cutting, shaping, and designing your own unique patterns.
So don’t get discouraged if things don’t look exactly as planned at first. With persistence, your projects will become smoother, and your creativity will shine through every finished piece.
✨ Keep practicing, keep experimenting, and most of all—enjoy the journey. Happy crafting, grasshopper!
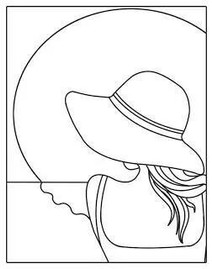
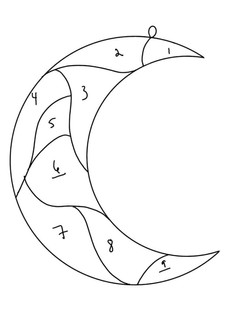
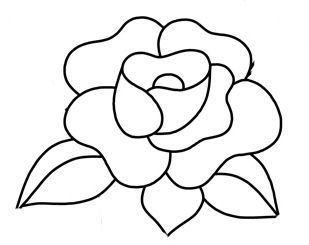
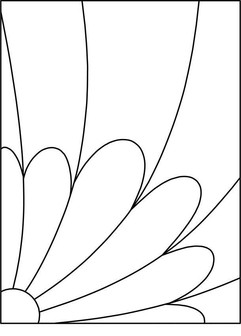
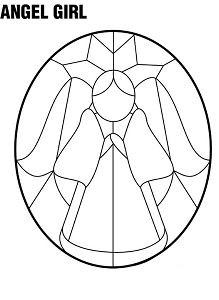
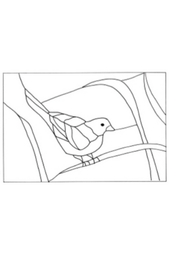
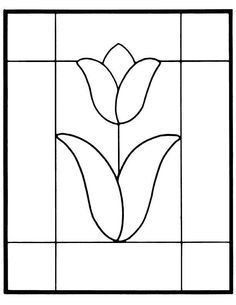
FREE STAINED GLASS BEGINNER PATTERNS BELOW

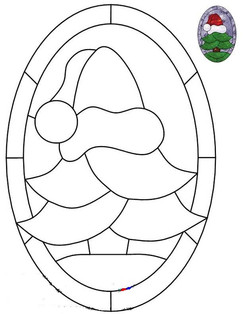
Free Stained Glass Patterns
As mentioned above, you are free to download, share, or add to your collection - they are for you! Click on any image to expand the view, right-click on your mouse, and save.


We're gratful for your visit and hope you'll take some time to check out more of our articles. Until next time - Press on Friends!!!
Looking for more information and topics? Visit Caveman's List of Blog Articles for more topics anf free stained glass patterns.